Canon EF-S Lens Repair
I repaired the focus commutator on a Canon EF-S 18-55mm lens . The fault manifests as an inability for the lens to focus in both directions. In other words, it’ll focus in one direction (e.g. on things that are progressively further away), but not the other.
I disassembled the lens and discovered that there’s a commutator formed from a flex-PCB and some wiper contacts that allows the lens controller to know roughly what position the focus mechanism is in. Without this information, the lens can’t know how focussed the mechanics are, and it’s not able to move the optics correctly. This is essentially the same issue as a motorised traverse not having functioning end-stops or limit switches.
The Cause
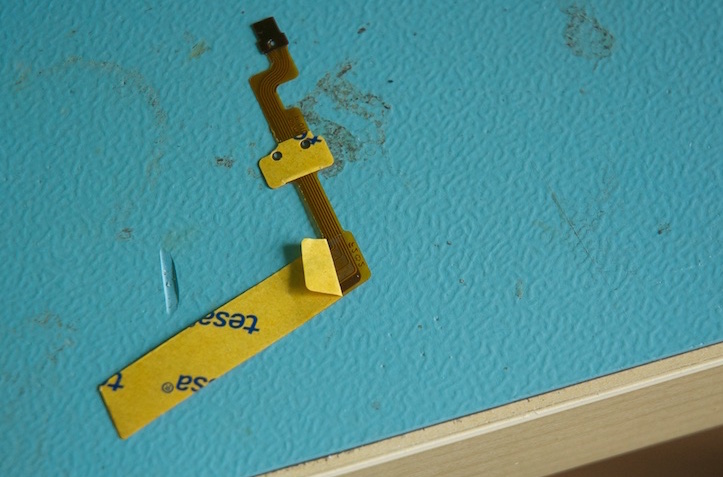
This issue is caused by a faulty cable within the lens. The connection between the commutator and the controller PCB flexes each time the lens zooms, so is fatigued and fails over time: this lens is about four years old.
The Fix
Repair is straightforward and involves replacing the faulty cable. Fortunately, this part is freely available on ebay for a couple of pounds.
Steps to Repair
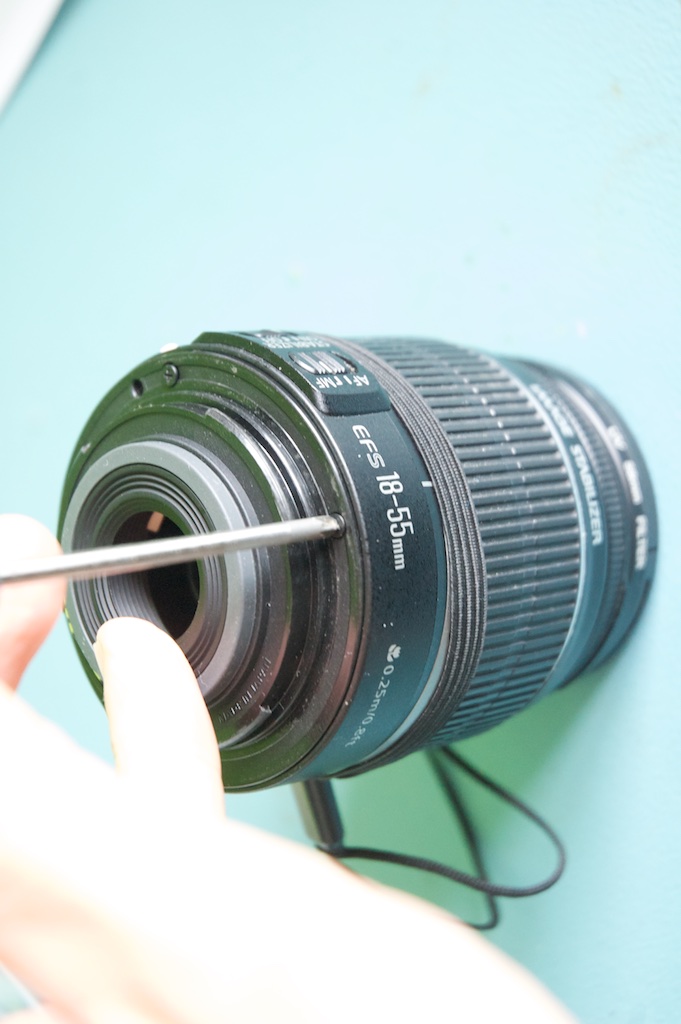
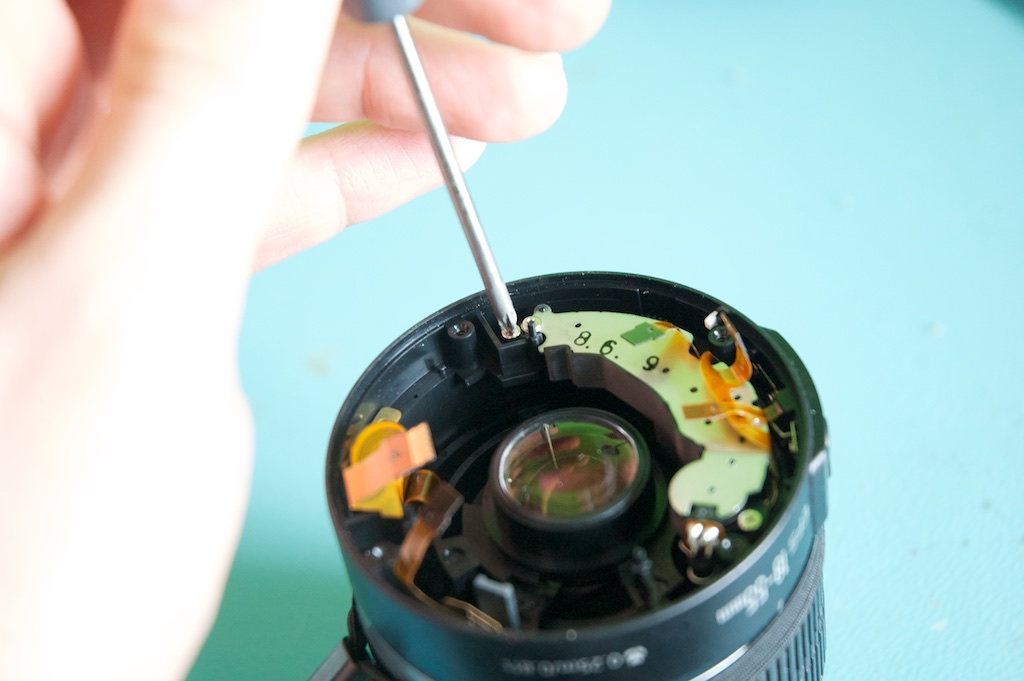
Begin by removing the screws round the bayonet fitting on the rear of the lens. You’ll need a small philips head screwdriver for this (probably 00 size). There are a couple of flex PCB cables connected to this part, so be careful and unplug them before lifting the bayonet off. The connections are slid in, so use the tabs at the sides of the connector to lever them out.
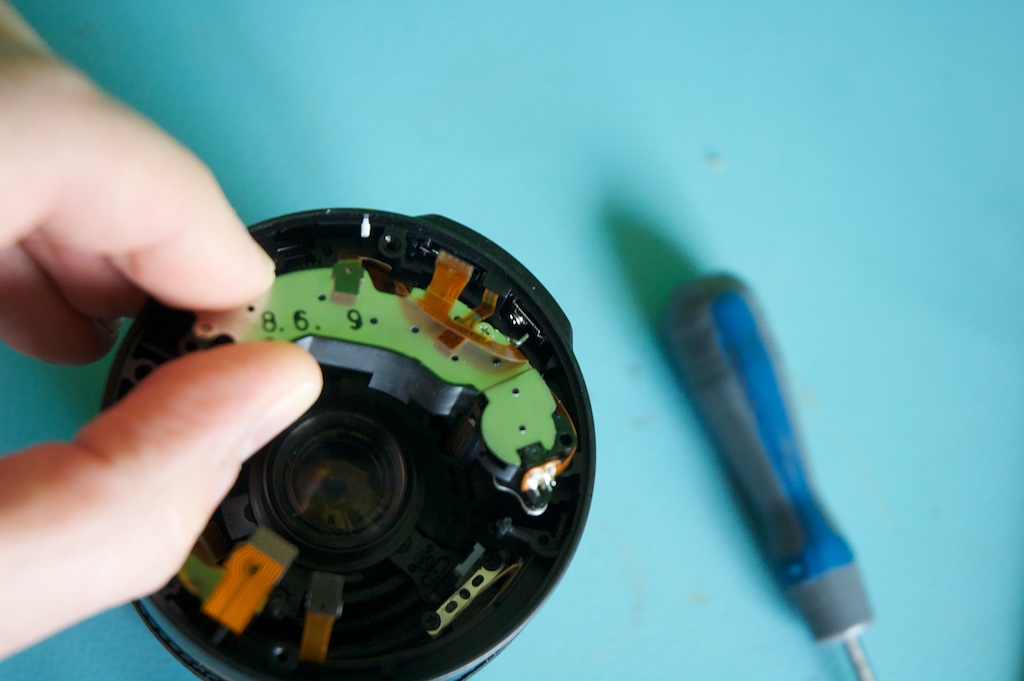
I don’t have a photo of the controller PCB in place, but it’s press-fit onto three rubber gaskets. Make sure the cables are disconnected and gently lift it off.
Next, remove the bayonet connector and the layers of plastic film (Keep a note of the order that they were stacked in).
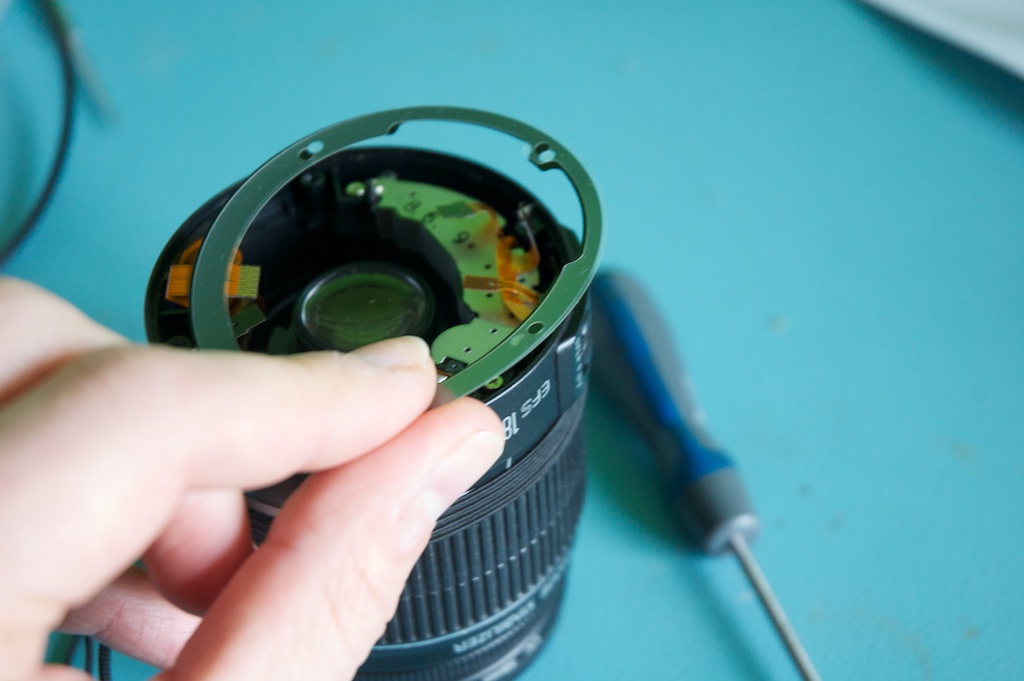
Once you’ve removed these parts, you’ll be able to see the back of the focus motor and controller.
Next, remove the two outer screws that hold the focus motor in place. You don’t need to remove the covers to the gearbox (the screws over the silver cover) since removing these exposes the gearbox, and could cause it to fall apart.
Gently lift out the motor and set it aside.
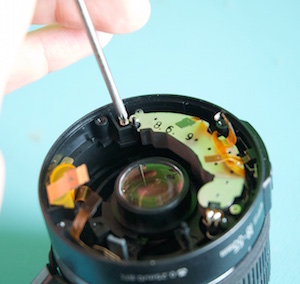
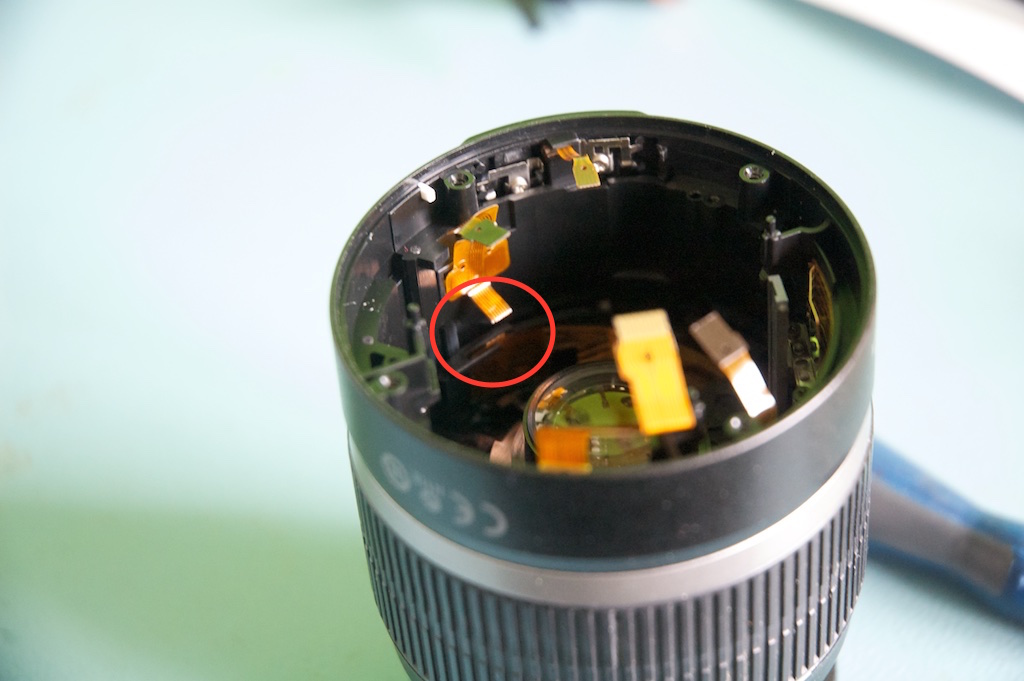
With the motor and gearbox removed, the faulty cable is visible. The two parts should be joined together. You now need to remove the two parts of this cable so that the new one can be fitted. The various parts are held down with self-adhesive. Gently pry them up using tweezers or forceps.
Once the old cable is removed, clean the surfaces that the adhesive was attached to (I used isopropanol) and prepare to offer up the new cable. My technique was to remove a small part of the self-adhesive backing from the commutator section and then use tweezers to guide the cable in place under the wiper contacts. Then, once the cable was in the correct position, I used my tweezers to slowly remove the rest of the backing whilst pressing the adhesive into place.

Make sure that the cable is properly seated underneath the wiper contacts, and that you don’t bend or damage them.
Once the cable is fitted and stuck down in both places, reassemble the lens. When you fit the focus gearbox, make sure that the drive pawl has engaged properly with the socket underneath - if you don’t, the lens won’t focus.