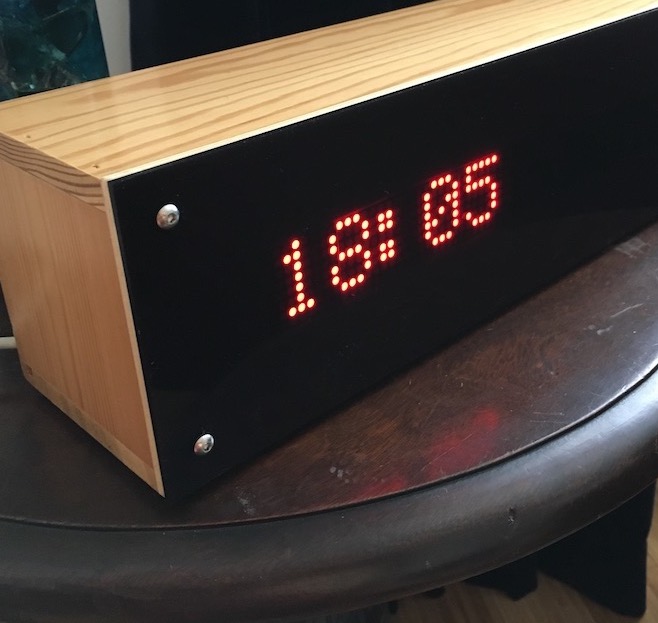
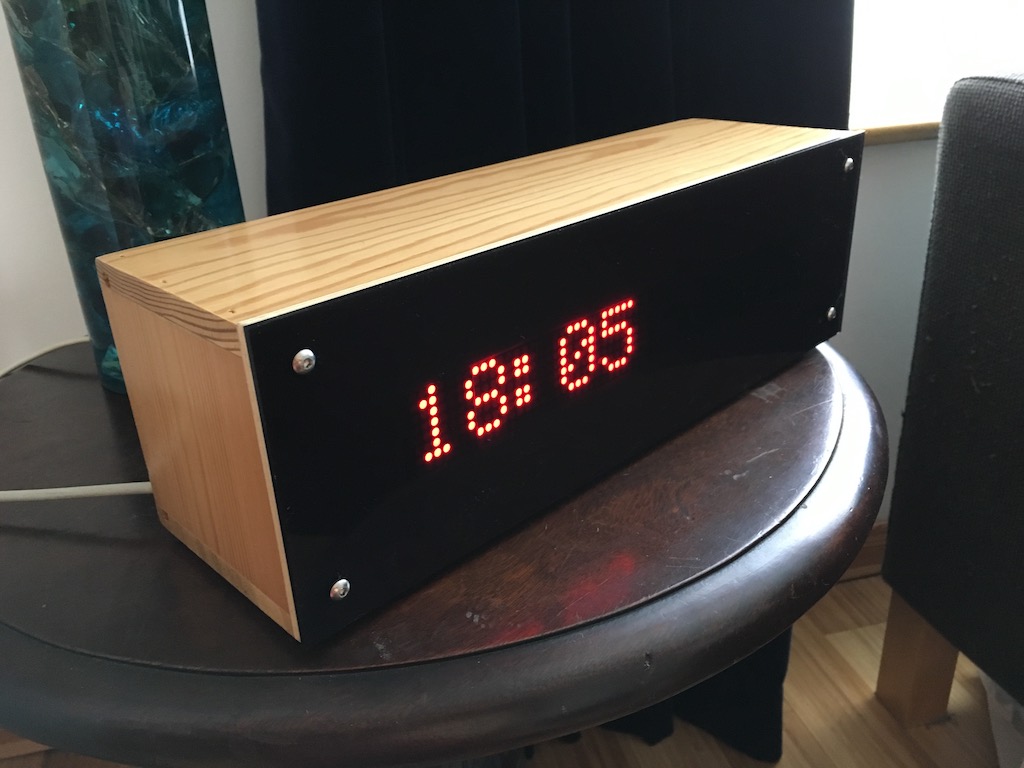
Wifi LED Matrix Display
A household LED display for live updates with Wifi is something that I’ve wanted for a while. This one is built from a pair of LED matrix boards based on the MAX7219 chipset and 8x8 LED modules. It provides a 8x64 pixel display of red LEDs, and is controlled from an ESP8266 microcontroller.
Electronics
The control is run from an ESP8266, which is a microcontroller board with integrated wifi. This unit uses the ESP-03 variant, which is a surface-mount module with 5 GPIO in addition to a serial port. I soldered the module onto a small piece of veroboard with some 0.1in headers so that I could use it on a breadboard, and later as a plug-in module in this project.
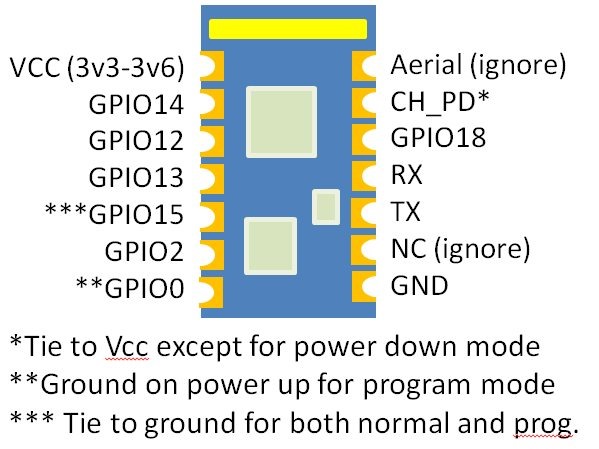
The ESP-03 module is plugged into a motherboard that contains the connections to the LED matrices, a 3.3v regulator, a programming switch (a momentary pushbutton), and some headers. Later, I added a second pushbutton that’s connected to one of the spare GPIOs.
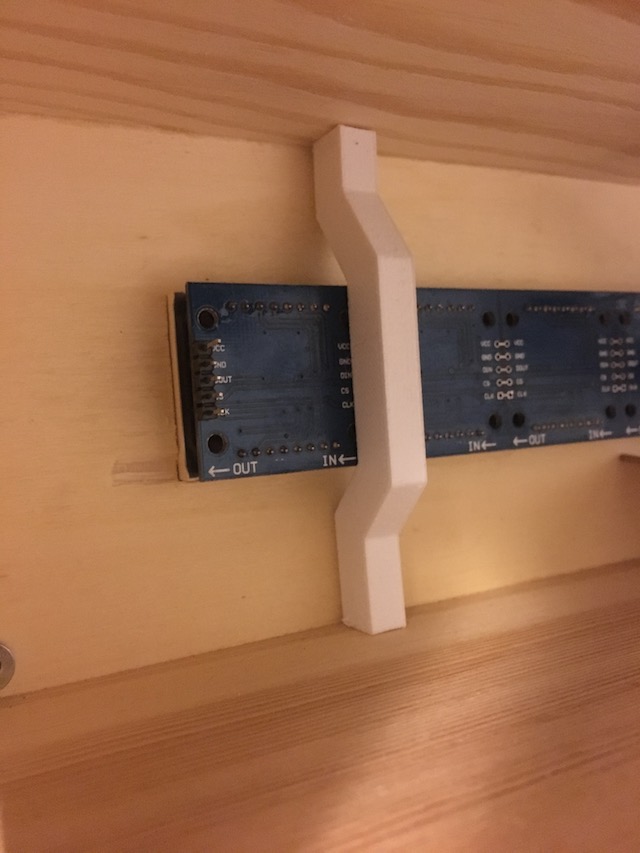
The matrices came pre-assembled from eBay, and are an 8x8 LED matrix controlled by the MAX7219 chip. Four matrices are ganged up on a single board, and there are two boards. Control is by a simple serial protocol and data can be clocked from one board to the next in a daisy-chain fashion. There’s an Arduino library called LedControl that enables control of these modules.
The board is powered from a spare USB wall-wart that I had lying around, so there’s a USB type B socket on the back.
Enclosure
The enclosure is a box for a bottle of wine that I had lying around in the house. I sanded and varnished the outside faces, and put some sticky rubber feet on the bottom. For the LED mounts, I cut a hole in the back of the box using a plunge-action router (one of the noisiest power tools known to man). Then, I laser-cut a piece of dark smoked perspex to fit the box and screwed it to the case. This design was prototyped in Autodesk Fusion360, which enabled me to make the DXF for the laser cutter, a template for the routing, and make sure that the finished product would look right before cutting any parts.

To strengthen the LED matrix, I used a 3D printer at Oxford Hackspace to make some support brackets, which are glued in place inside the box.
Backend
The system is built to rely on an MQTT server running on the same network to send messages to it. In this case, I’m using a RaspberryPi with an instance of NodeRed) running. NodeRed is a visual programming tool for controlling devices and allows logic to be programmed by connecting functional blocks together with wires. To use the LED display as a clock, NodeRed sends a string containing the current time every 30 seconds.
I’ve got a number of NodeRed workflows running, including one that checks the weather forecast on darksky.net, and flashes a message up on screen if rain is due within the next hour. Nodered is flexible enough that I can develop additional features and workflows as I go along, so the functionality of the display can be changed if I desire.
One example of this is that I can use the spare button on the hardware to allow replay of the last few messages. I have a workflow that saves the last three messages in a context (NodeRed term for an instance of a particular node), and allows them to be resent. This means that it’s possible to review a recently played message from the display.
Firmware
The firmware in the ESP-03 is relatively simple and is available on GitHub. At start-up, the code connects to the wifi network and then tries to connec to the MQTT server. After it’s successfully connected, it subscribes to the topic /messages and waits for data to be pushed to it.
Messages that arrive are buffered in RAM and then the frame-buffer for the display is built up into an array. The array is then written to the LED strip by the LedControl library functions. The code can handle arbitrary length strings being sent to it, and is able to scroll long messages in their entirety. Once a long message has been scrolled, the first ~10 characters are shown until the next message is received.